How to Start a Shopify Store: A Step-by-Step Guide
Are you ready to launch your own online business? Shopify is one of the most popular ecommerce platforms, powering over 4.5 million stores worldwide. Whether you’re selling handmade crafts, dropshipping products, or launching a full-scale retail brand, Shopify’s user-friendly interface and powerful tools make it the go-to choice for beginners and seasoned entrepreneurs alike. In this beginner’s guide to Shopify, we’ll walk you through how to start a Shopify store from scratch, with step-by-step instructions to get your ecommerce business up and running.
Why choose Shopify? It’s easy to use, offers customizable themes, integrates with multiple payment gateways, and provides built-in tools for SEO and marketing. This guide will cover everything you need for a successful Shopify store setup, from choosing a plan to launching your store and driving traffic. Let’s dive in!
Step 1: Choosing the Right Shopify Plan
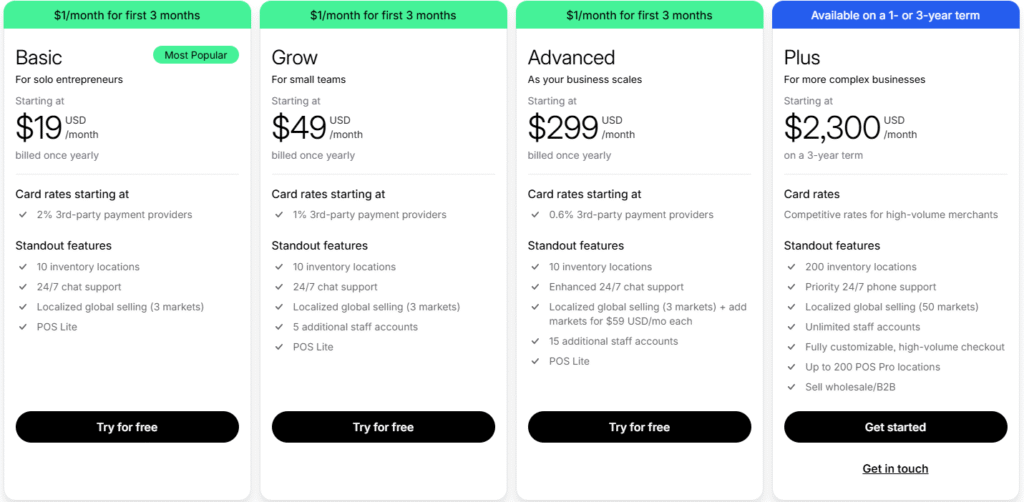
The first step in creating a Shopify store is selecting the right plan for your business. Shopify offers four main plans: Basic ($39/month), Standard ($105/month), Advanced ($399/month), and Shopify Plus (enterprise-level, starting at $2,300/month). Each plan caters to different business needs, so let’s break them down:
- Basic: Perfect for beginners with small product catalogs. Includes essential features like unlimited products, 24/7 support, and Shopify Payments.
- Standard: Ideal for growing businesses needing advanced reporting and lower transaction fees.
- Advanced: Suited for scaling businesses with advanced analytics and third-party calculated shipping rates.
- Shopify Plus: Designed for large enterprises with high sales volumes and custom needs.
How to Choose: If you’re just starting, the Basic plan is budget-friendly and offers everything you need to launch. You can always upgrade as your business grows.
Step 2: Setting Up Your Shopify Store
Once you’ve chosen a plan, it’s time to set up your Shopify store. This involves creating an account, selecting a theme, adding products, and configuring payments and shipping. Here’s how to do it:
2.1 Sign Up and Create Your Account
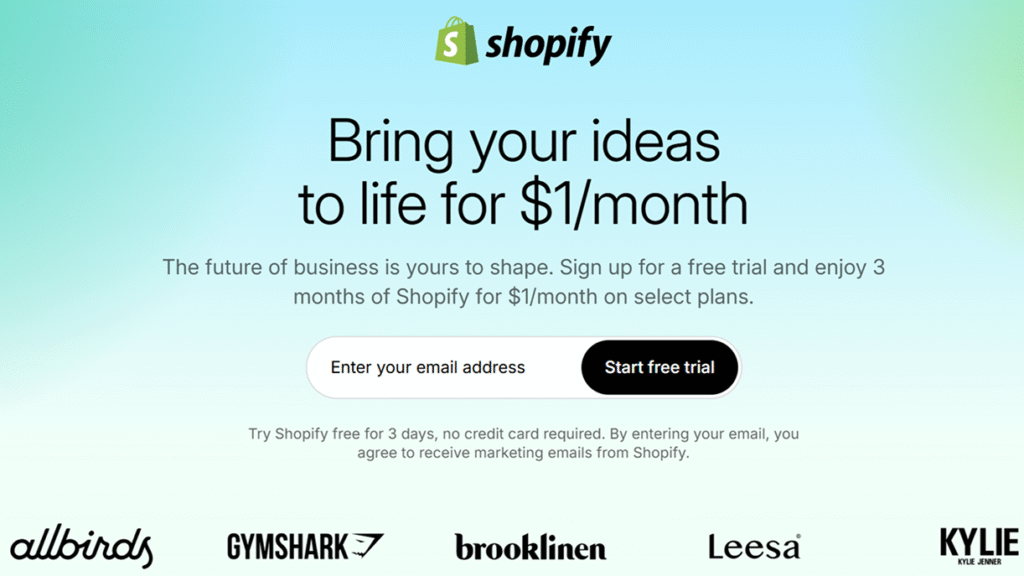
Visit Shopify.com and click “Start free trial.” Enter your email, create a password, and name your store (e.g., “MyAwesomeShop”). Shopify will guide you through a quick setup wizard to understand your business needs.
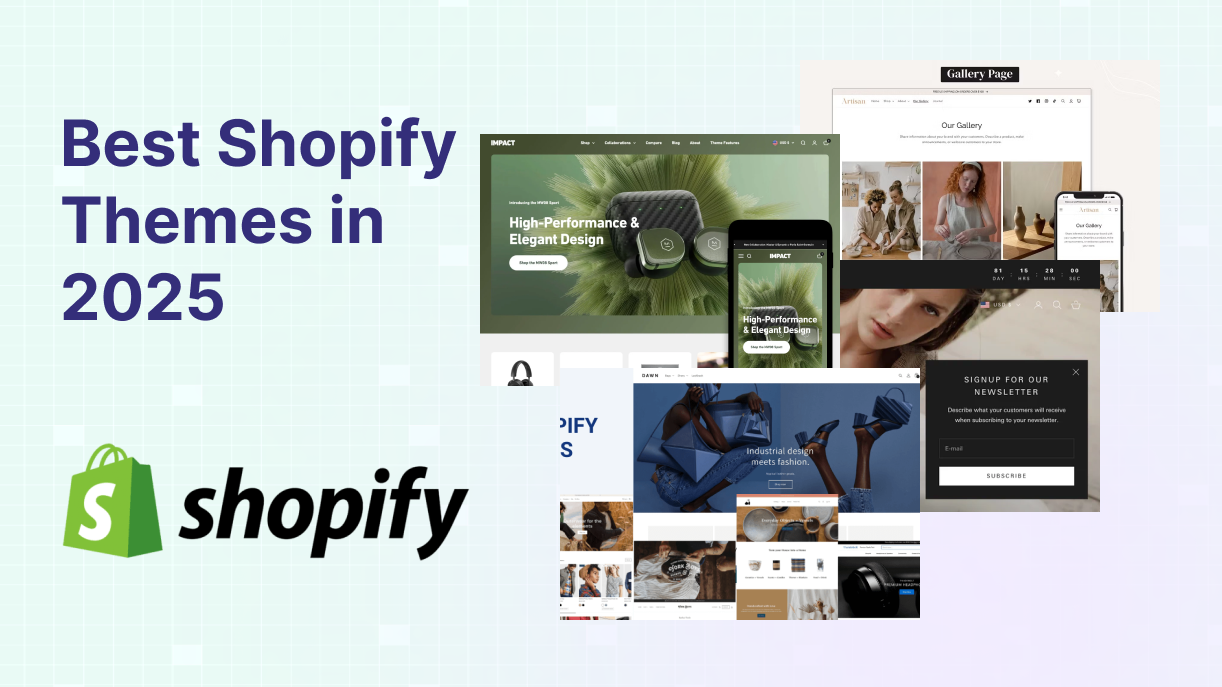
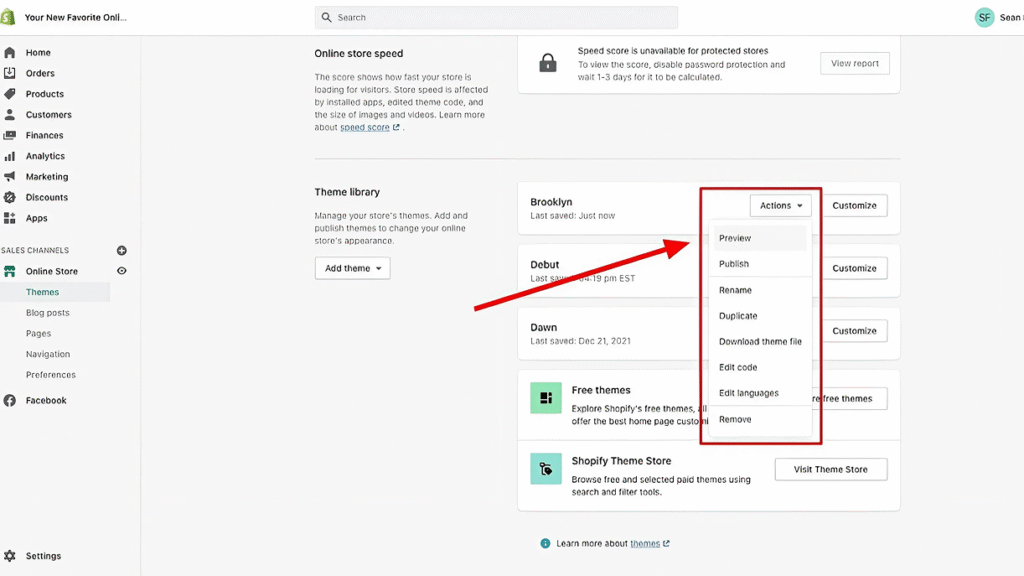
2.2 Select and Customize a Theme
Shopify offers free and paid themes to make your store look professional. Navigate to the “Online Store” section in your Shopify dashboard, click “Themes,” and browse options like Debut or Dawn (free) or premium themes like Turbo. Customize colors, fonts, and layouts to match your brand.
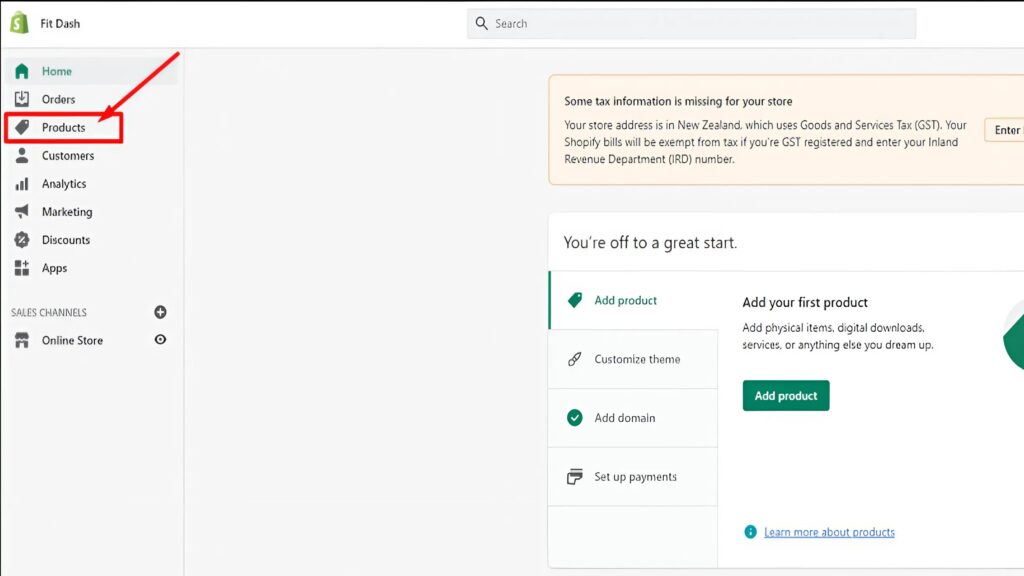
2.3 Add Products
In the Shopify dashboard, go to “Products” and click “Add Product.” For each product:
- Write a clear title (e.g., “Handmade Ceramic Mug”).
- Add a detailed description with keywords (e.g., “durable ceramic mug for coffee lovers”).
- Upload high-quality images (at least 800×800 pixels).
- Set pricing and inventory details.
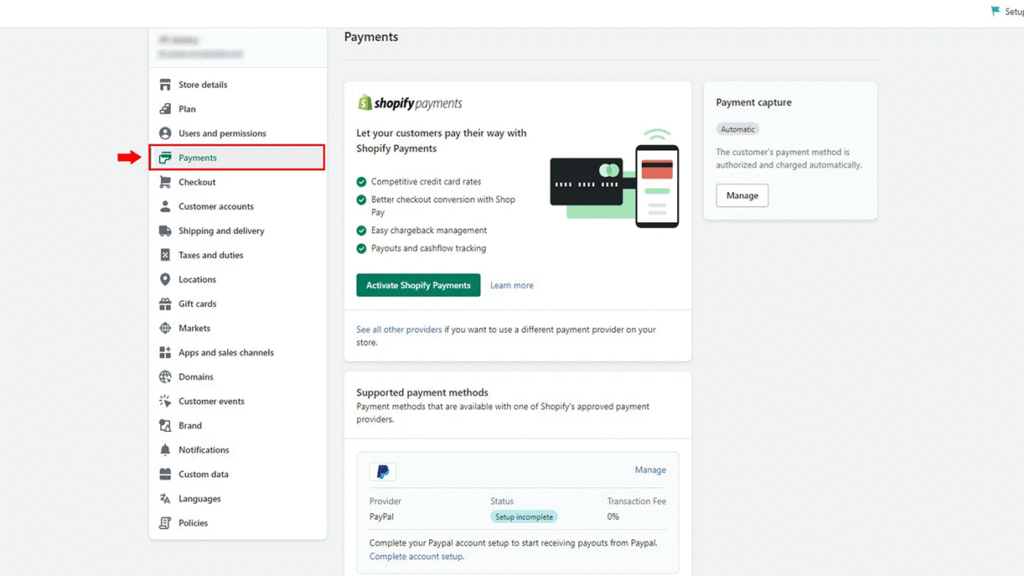
2.4 Configure Payments
Shopify Payments is the easiest way to accept payments, supporting credit cards, Apple Pay, and more. In the dashboard, go to “Settings” > “Payments” and enable Shopify Payments. If it’s not available in your country, integrate alternatives like PayPal or Stripe.
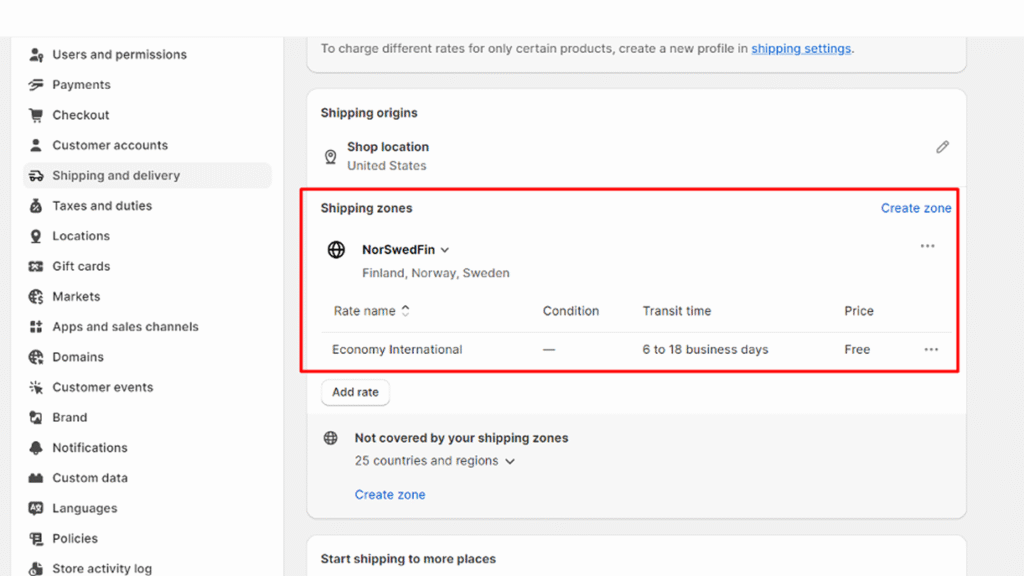
2.5 Set Up Shipping
Under “Settings” > “Shipping and Delivery,” configure shipping zones and rates. For example, offer free shipping for orders over $50 or flat rates based on weight. Test your settings to ensure accuracy.
Step 3: Optimizing Your Shopify Store for SEO and Marketing
To attract customers, your Shopify store needs to rank well on search engines and leverage marketing strategies. Here’s how to optimize for SEO and start marketing:
3.1 Keyword Research
Use tools like Google Keyword Planner or Semrush to find keywords related to your products (e.g., “handmade ceramic mugs”). Incorporate these into product titles, descriptions, and blog posts.
3.2 On-Page SEO
Optimize your store for search engines:
- SEO Title: Include the main keyword (e.g., “Handmade Ceramic Mugs | MyAwesomeShop”).
- Meta Description: Write a 150–160 character description (e.g., “Shop durable handmade ceramic mugs at MyAwesomeShop. Fast shipping, great prices!”).
- URLs: Keep slugs short and keyword-rich (e.g., /handmade-ceramic-mugs).
- Alt Text: Add descriptive alt text to images (e.g., “handmade ceramic mug with blue glaze”).
3.3 Marketing Strategies
- Social Media: Share your products on Instagram, Pinterest, or TikTok. Create engaging posts with high-quality images.
- Email Marketing: Use Shopify’s email tools to send welcome emails or promotions.
- Paid Ads: Run targeted ads on Google or Facebook to drive traffic.
Step 4: Launching Your Store and Driving Traffic
Before launching, test your store to ensure everything works:
- Place a test order to check the checkout process.
- Verify that pages load correctly on mobile devices.
- Confirm shipping and tax settings are accurate.
Once ready, remove the password protection in “Online Store” > “Preferences” to make your store live. To drive traffic:
- Promotions: Offer a launch discount (e.g., 10% off first orders).
- Social Media: Post about your launch on X, Instagram, or relevant ecommerce groups.
- Influencers: Partner with micro-influencers to promote your products.
Conclusion
Starting a Shopify store is an exciting journey, and with this step-by-step guide, you’re ready to build a professional ecommerce business. From choosing the right plan to optimizing for SEO and launching your store, Shopify makes it easy to succeed. Ready to get started? Sign up for a free Shopify trial today and turn your business idea into reality!
📈 Want to grow traffic, boost conversions, and simplify your Shopify marketing?
Boostsy.app has everything you need – explore now.